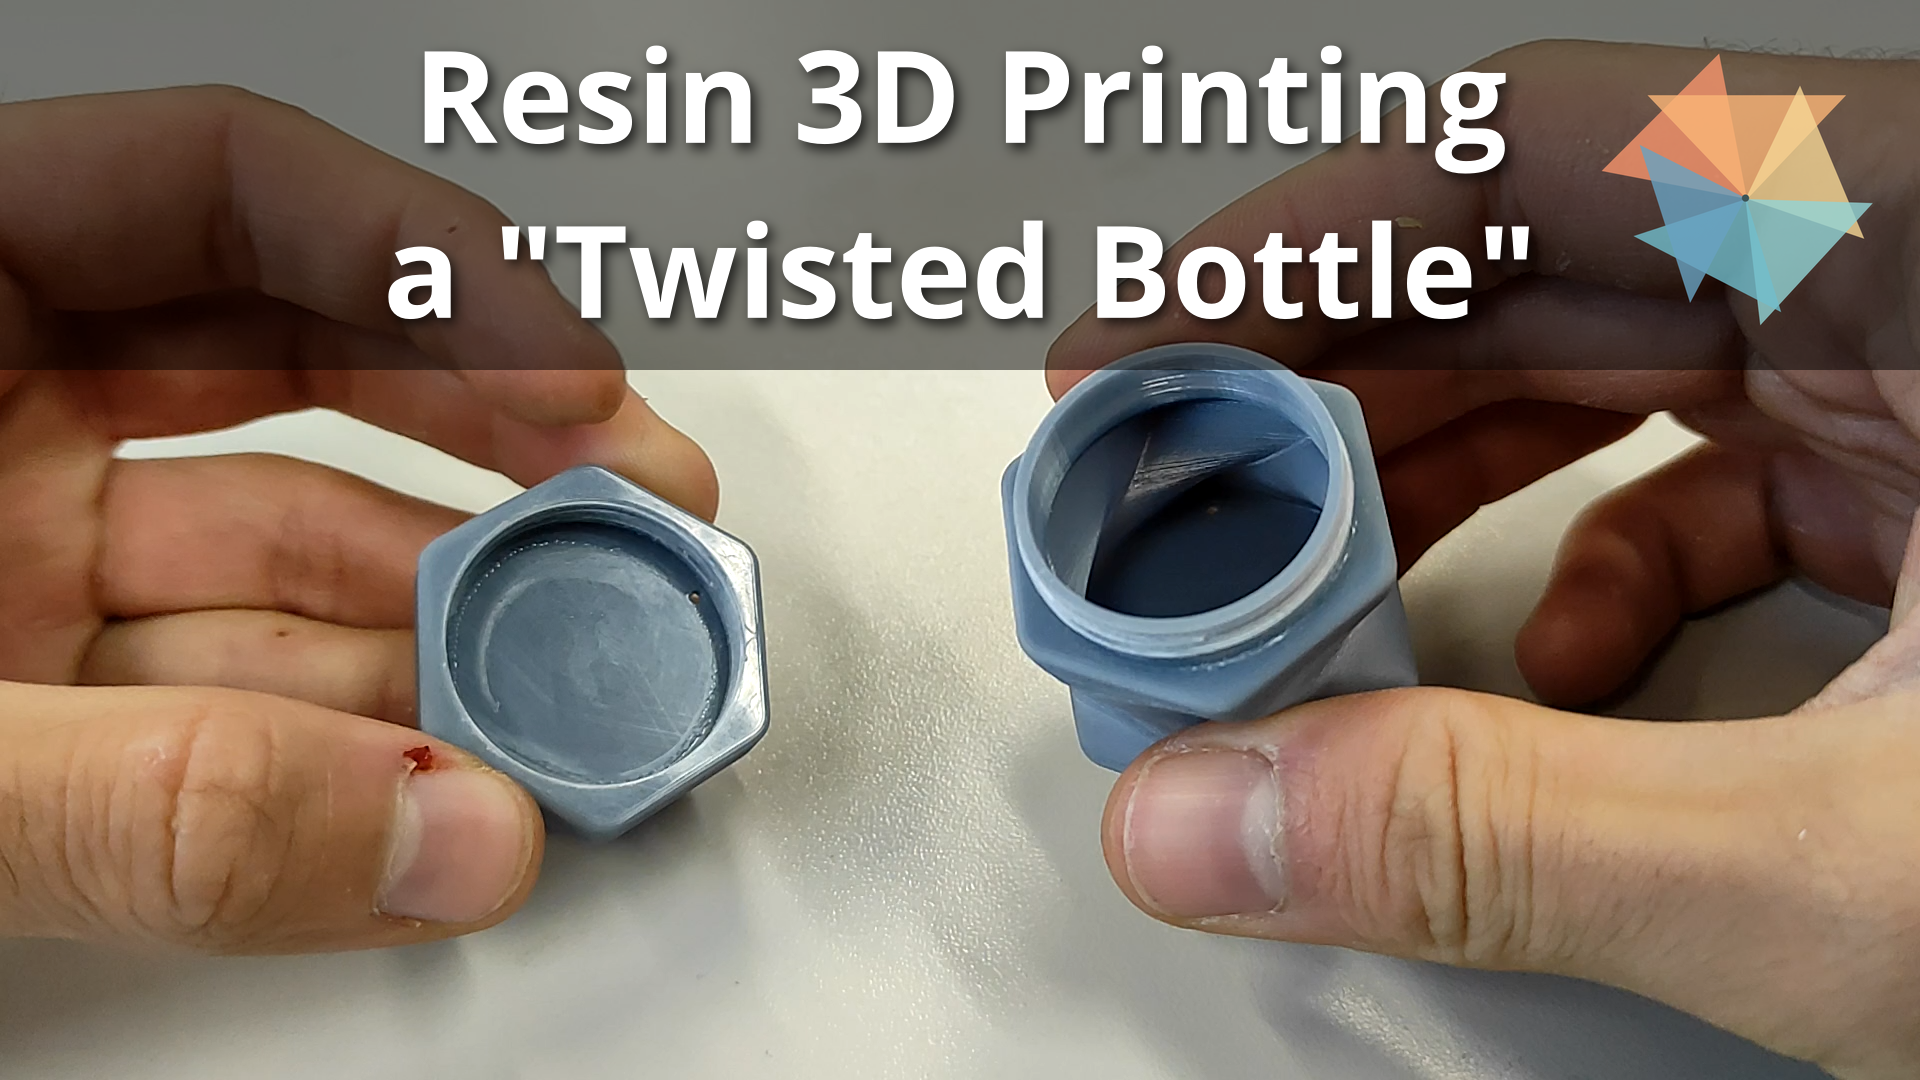
In this project we’ll download, slice and 3d print a design for a little container with a screw-on cap using a Resin 3D Printer.
You can find the files for this project in the corresponding Drive folder. The details for the slicing and machine operation can be found in the cheatsheet on the Printer’s page.
Step 1: Finding and Downloading the Model
There are thousands of free models for 3d printing available online. The two largest platforms for browsing these are Thingiverse and Printables.com. You can find the model we’re using here:
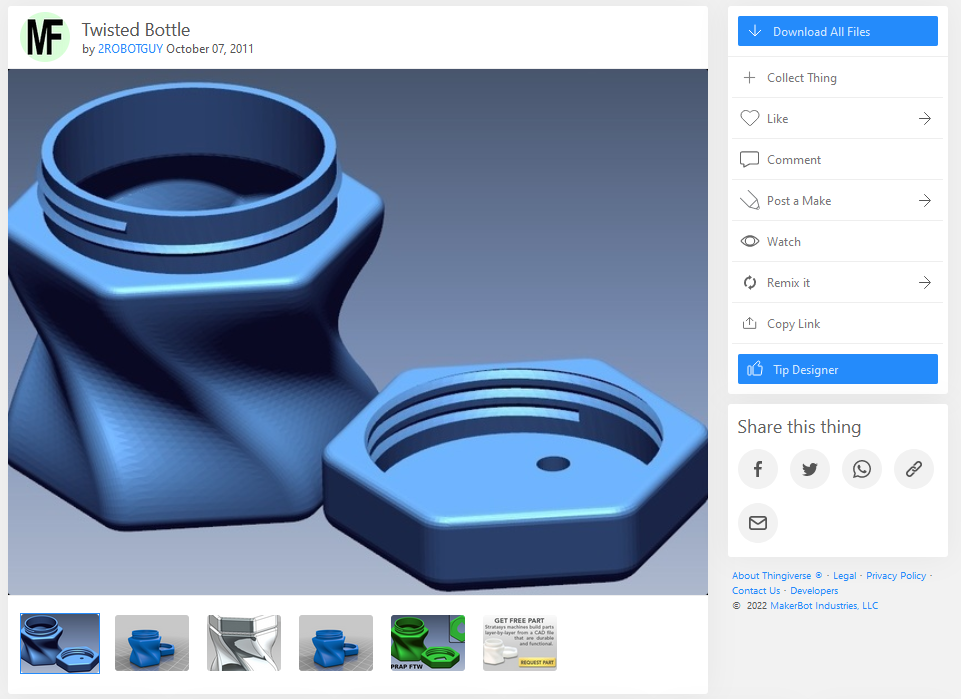
Often these pages offer multiple formats. For printing, we’re usually loooking for a .stl or .3mf file. Other file types (.step, .sldprt, .ipt, .f3d, .scad) usually contain the CAD data that is better if we want to make adjustments to the file using the software that was originally used to design the part, but need to be converted before they can be used to print.
Step 2: Slicing
Now we can use LycheeSlicer to set our printing parameters and add supports, hollow out parts etc. For this model, we’ll add two pressure-relief holes to prevent a vacuum to form when the “cup” shapes are lifted off the bottom of the resin vat when printing:
With everything set up, we can create a .cws file using “Export Slices to File” and copy it to a USB stick that we’ll attach to the printer in the next step.
Step 3: Printing, Washing and Curing
Now we’ll print the part on the resin printer. When using the resin printer, PPE is required (safety glasses and gloves). Once the part is done, it is rinsed with isopropanol alcohol and cured in the washing and curing station.
When the curing process is complete, the object is safe to touch and use.